How to Clean Your Persian Kitten’s Ears: A Step-by-Step Guide
Persian kittens are known for their luxurious, long fur and sweet, expressive faces. However, their distinctive features can sometimes require a bit more care, particularly when it comes to cleaning their ears. Regular ear maintenance is crucial to ensure your Persian kitten remains healthy and comfortable. Here’s a comprehensive guide to help you safely and effectively clean your kitten’s ears.
Why Clean Your Persian Kitten’s Ears?
Persian kittens, due to their dense fur and facial structure, can be prone to ear infections, wax buildup, and dirt accumulation. Regular ear cleaning helps to:
- Prevent infections caused by bacteria or yeast.
- Reduce the risk of mites.
- Minimize unpleasant odors.
- Maintain overall ear health.
What You’ll Need
Before you begin, gather the following supplies:
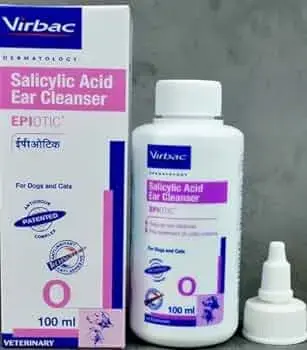
- Ear Cleaner: Use a vet-recommended, kitten-safe ear cleaner. Avoid using alcohol or hydrogen peroxide, as they can irritate the sensitive skin inside your kitten’s ears.
- Cotton Balls or Pads: Opt for soft, lint-free cotton balls or pads.
- Towel: To keep your kitten steady and comfortable.
- Treats: To reward and soothe your kitten during and after the process.
Preparing Your Kitten
1. Choose a Calm Environment: Find a quiet, well-lit area where you can work comfortably. It might help to have another person assist if your kitten is particularly squirmy.
2. Gently Restrain Your Kitten: Wrap your kitten in a towel to gently restrain them and keep them calm. Ensure their head is accessible but not overly restrained.
Step-by-Step Cleaning Process
1. Inspect the Ears: Before cleaning, look inside the ears for any signs of redness, swelling, discharge, or a bad odor. If you notice any of these symptoms, consult your vet before proceeding.
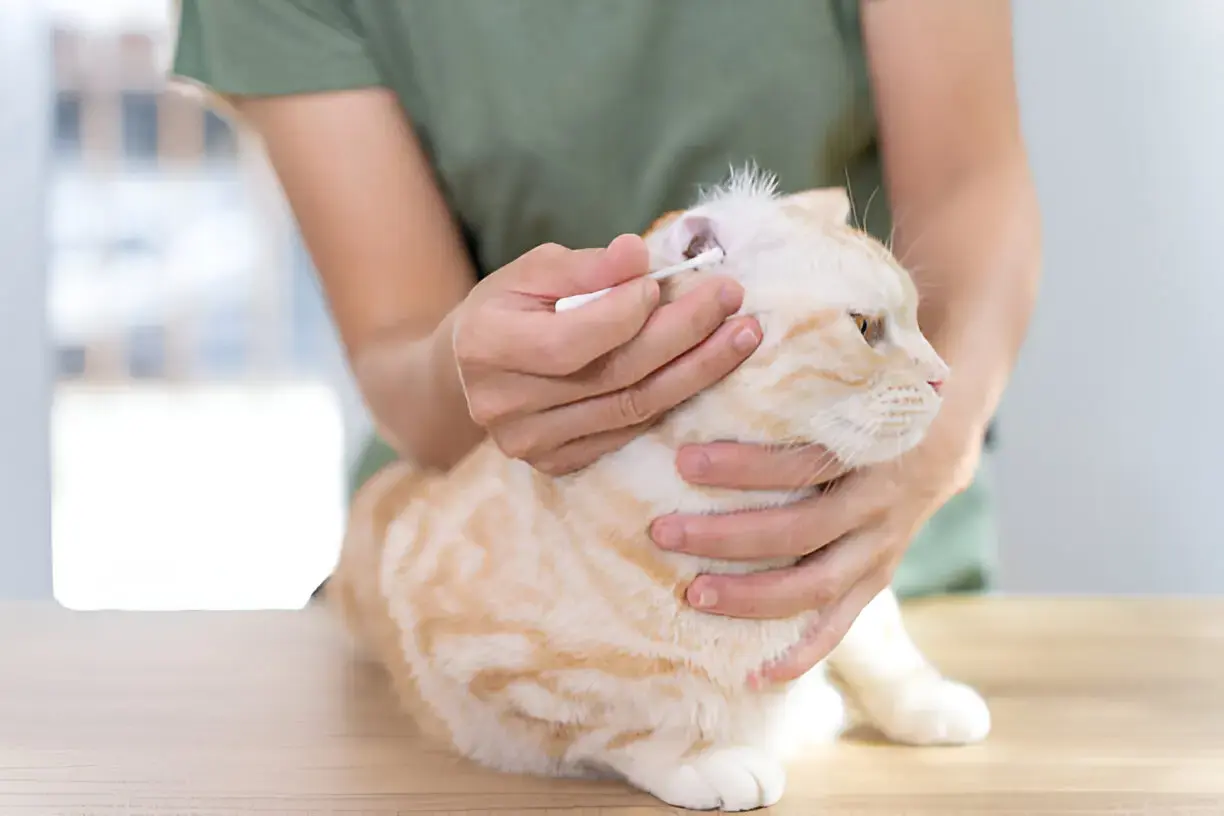
2. Apply Ear Cleaner: Gently lift your kitten’s ear flap and squeeze a small amount of ear cleaner into the ear canal. Be careful not to overfill it; a few drops are usually sufficient.
3. Massage the Base: With the ear cleaner in place, gently massage the base of the ear for about 20-30 seconds. This helps the cleaner break down wax and debris inside the ear canal.
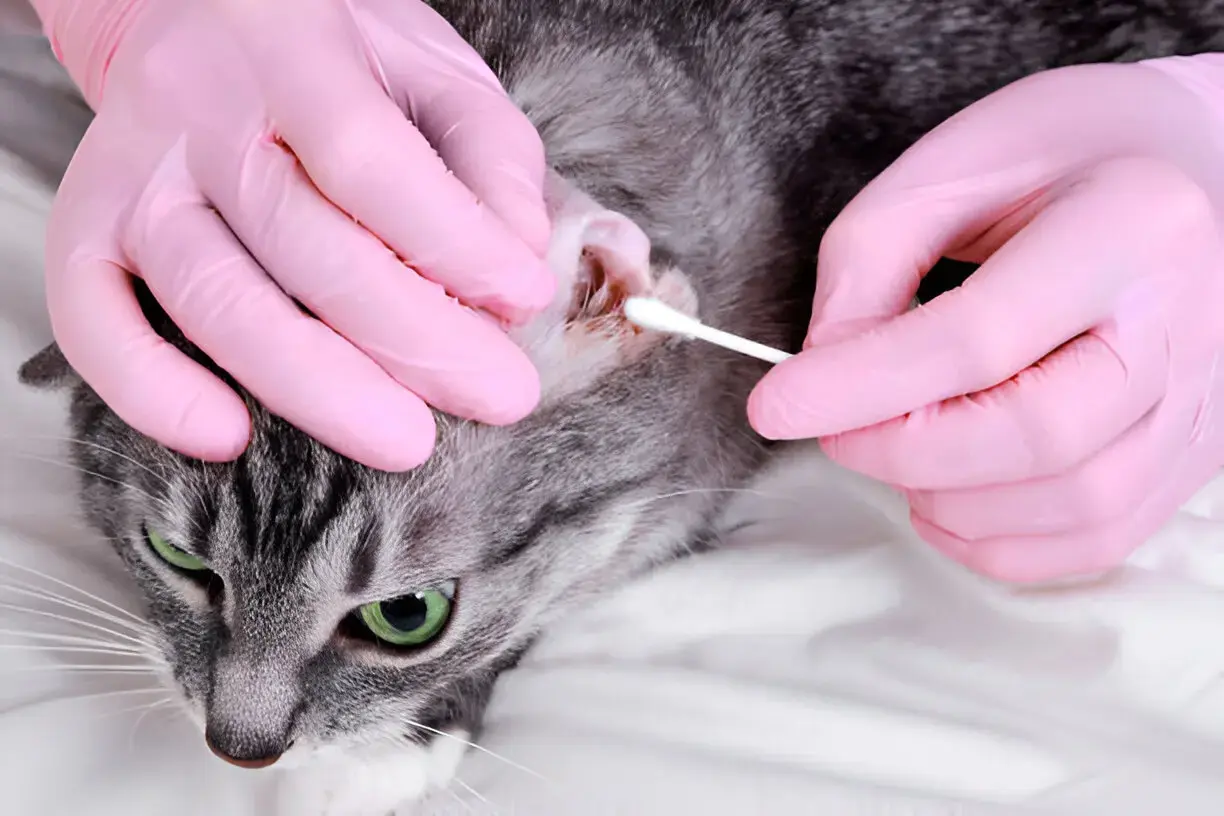
4. Wipe Away Debris: Use a cotton ball or pad to gently wipe away any loosened wax and debris from the ear canal. Start from the outer part and move inward. Avoid inserting anything into the ear canal, as this can push debris further in or cause injury.
5. Dry the Ear: Use a clean, dry cotton ball to gently dry the outer part of the ear. Ensure there is no excess moisture left inside the ear canal.
6. Repeat on the Other Ear: Follow the same steps to clean the other ear.
Post-Cleaning Care
- Reward Your Kitten: After cleaning, give your kitten a treat and lots of praise to make the experience positive.
- Monitor for Issues: Keep an eye on your kitten’s ears for any signs of discomfort or persistent issues. If you notice any problems or if your kitten shakes their head excessively, consult your vet.
Tips for Successful Ear Cleaning
- Be Gentle: The inner ear is sensitive, so handle your kitten with care and avoid using excessive force.
- Establish a Routine: Regular ear checks and cleaning (about once a month or as needed) can prevent problems from developing.
- Stay Calm: Your kitten will pick up on your emotions, so staying calm and composed will help them feel more at ease.
When to See a Vet